- Ben Kai·Over a decade of focus on customizing data transmission lines
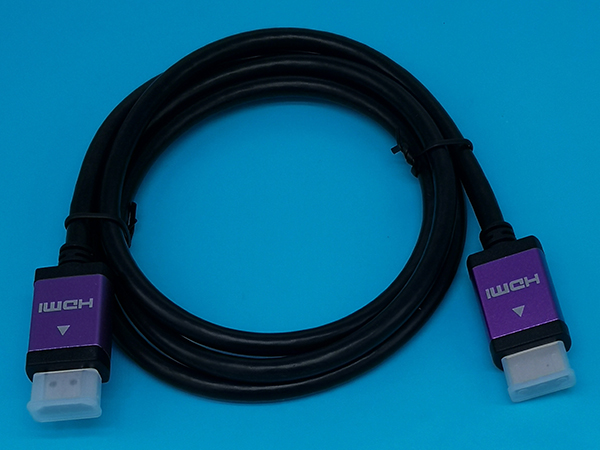
- HD data cable Connecting the data cable Equipment data cable

Inspection standard for drawing force of wire terminals
Inspection standard for drawing force of wire terminals
1.0 Purpose and Scope: The purpose of this article is to establish a standard for terminal pull-out force testing of all wires in the wire series, providing inspectors with a basis for inspection and testing. This document is applicable to the production and shipment of wire series products
2.0 Related Documents
2.1 Product Measurement and Monitoring Control Procedure
2.2 Nonconforming Product Control Procedure
2.3 Document Control Procedure
2.4 Quality Record Control Procedure
3.0 Main Responsibilities
3.1 The Quality Assurance Department is responsible for developing, evaluating, and updating this homework guide, and supervising its implementation
3.2 The quality assurance department PQC strictly conducts inspections in accordance with this standard
3.3 Each relevant department is the supporting department for this document
4.0 Equipment/Tools
Microscope, pull-out force gauge, caliper
5.0 Standard Content
5.1 Before the terminal machine is turned on every day, the inspector first uses a microscope to inspect the appearance of the terminals, and first determines whether there are any defects such as core wire indentation, adhesive pressure, punctured rubber, terminal deformation, and terminal damage
5.2 Use a caliper to measure the conductor height, insulation height, and terminal pressing width of the terminal (the maximum width at the pressing core and adhesive)
5.3 Final test of terminal pulling force
5.4 The standard for testing the terminal pull-out force positioning part is: a vertical 90 degree angle, and the fixture clamps the part of the terminal that does not have a core wire
5.5 Test the terminal pulling force, conductor height, insulation skin height, and pressing width every half an hour
Test above 5.6, 2EA each time
If any item is found to exceed the standard during testing, hold the product within one hour and hand it over to quality assurance and engineering personnel for handling. Request the repairman to adjust the machine. And retest after adjustment to determine the adjustment effect